SnackBar
5 minute read
SnackBar is a simple end-to-end encrypted application that allows for securely sending snacks (chocolate bars!) to a receiving @sign. Below is the step-by-step process that will assist you in getting the SnackBar application up and running.
Note: This application demo works with two devices. A connected physical device and an emulator is suitable for this demo as well.
1. Get SnackBar Running on your Machine
You are able to download application templates from our at_app project! Copy and paste the following code in your terminal to activate at_app on your machine:
dart pub global activate at_app
Important note!
Verify your system PATH variable
When you run the command above, it may prompt you that the pub cache bin is missing from the system PATH variable. The prompts will tell you the appropriate steps to add it to the PATH variable. Please complete this step before continuing.
After successfully activating at_app on your machine, simply change directories to where you wish to have your snackbar application exist. After having your desired directory active, copy and paste the following command into your terminal:
at_app create -d snackbar ...
Note: Replace the above “…” with the folder name you wish for the snackbar application to be built within.
After creating the snackbar application, run the project on your physical device or emulator using the following command:
cd ...
flutter run
Note: Replace the above “…” with the folder name you built the snackbar application.
2. Understand how SnackBar Works
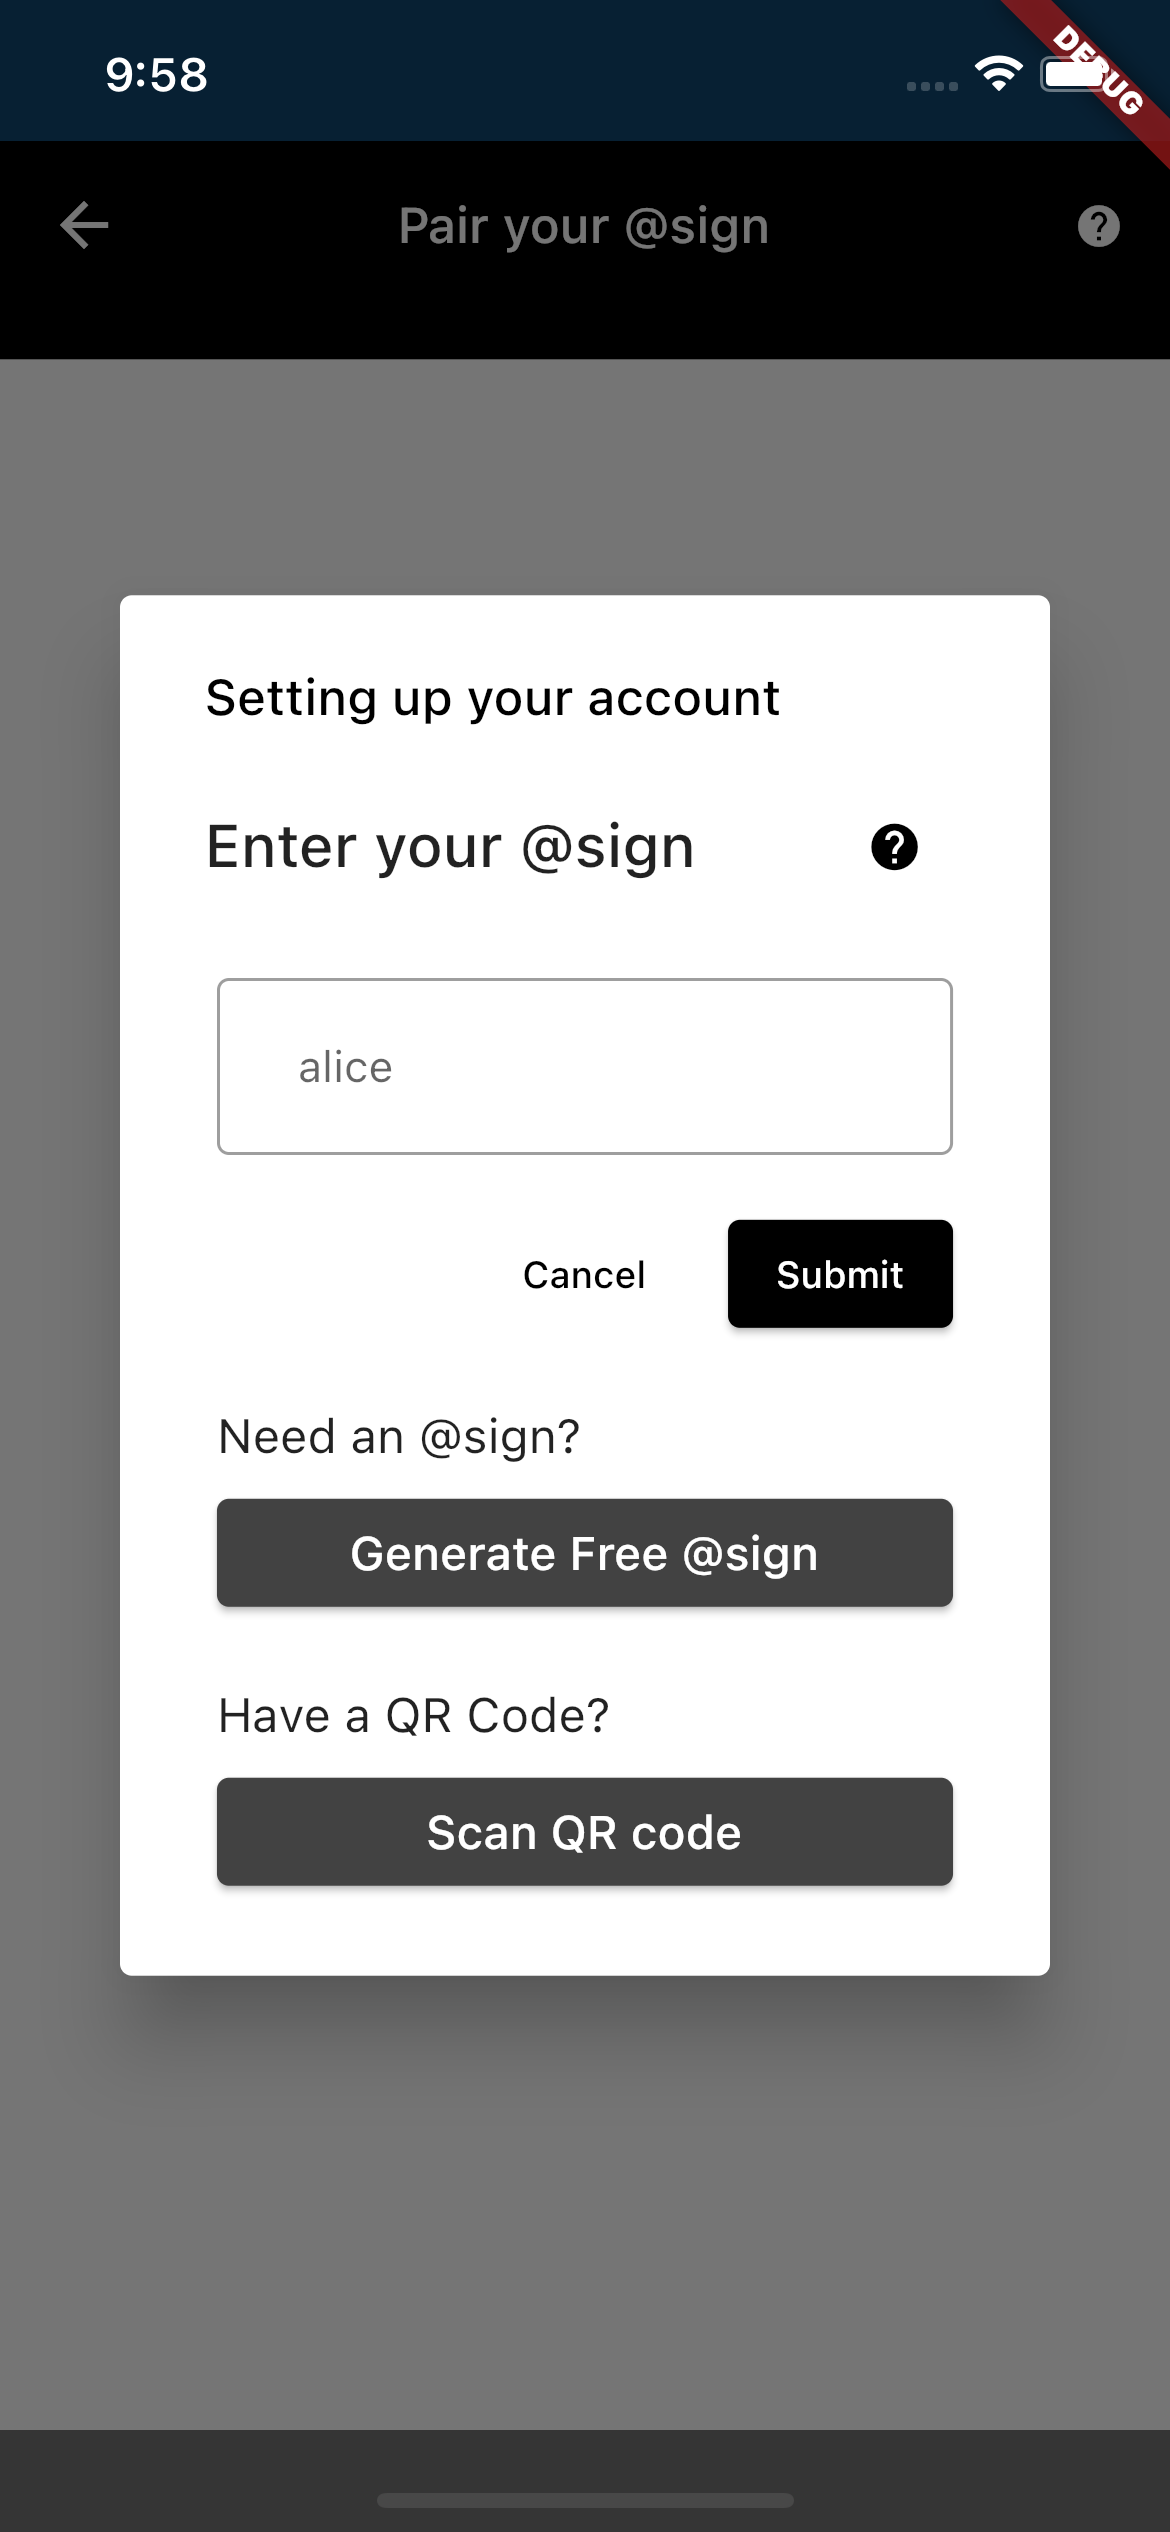
The first thing you will see when the SnackBar application is built and running on your device is the Onboarding screen.

How does Onboarding work?
Below is the snippet of code that houses the Onboarding method. After every line of code, documentation has been written to make the code as readable as possible.
Onboarding(
  context: context, //Build context of the screen

  atClientPreference: atClientPreference!, //This specifies several
  // attributes such as domain and namespace

  domain: AtEnv.rootDomain, // This is pointing the application's connection to
  // the production level of the @protocol

  rootEnvironment: AtEnv.rootEnvironment,

  appAPIKey: AtEnv.appApiKey, // This APIKey makes your application unique from
  // other applications created on the @platform

  onboard: (value, atsign) {
    _logger.finer('Successfully onboarded $atsign');
  }, // This is the onboard function which will take the map of atsigns (which
  // have been authenticated already)/atCLient preferences  along with the current
  // atsign attempting to authenticate.
  // If the authentication is successful, it will be logged and you will be taken
  // to the next screen

  onError: (error) {
    _logger.severe('Onboarding throws $error error');
  }, // If the authentication process fails, an error is thrown

  nextScreen: const HomeScreen(), // The next screen after successful
  // authentication will be the HomeScreen
);
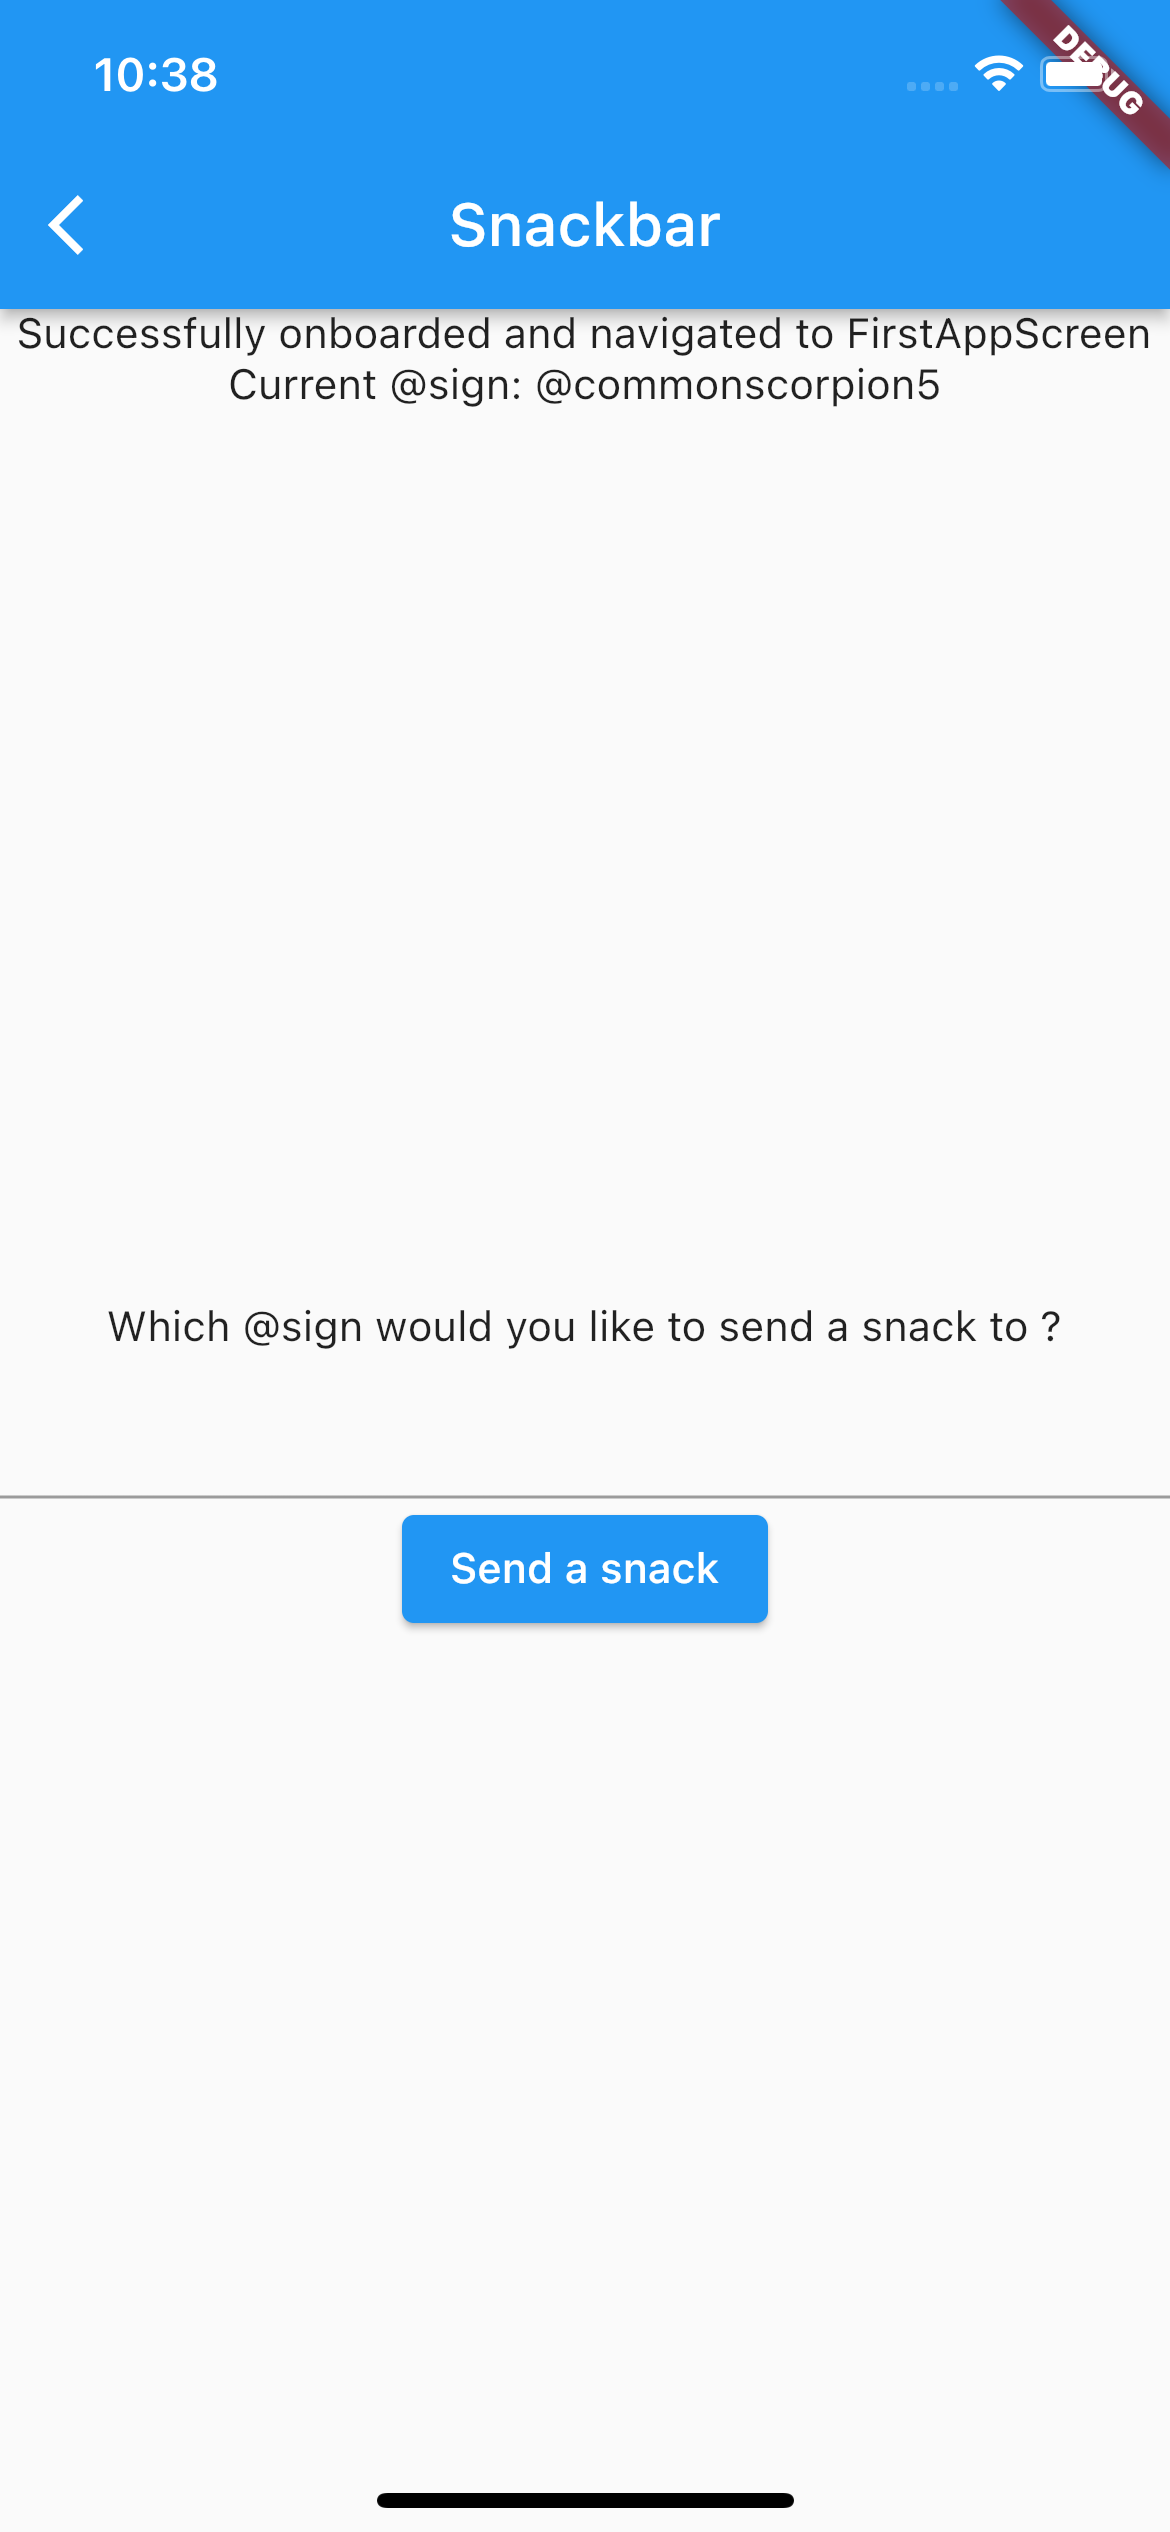
After successfully onboarding, you are then taken to the ‘Share a Snack’ screen. This is where you can enter an @sign to send a snack to.

How are the snacks being sent?
The current snack that is being sent securely to a receiving atsign has its value stored and sent through what is known as an AtKey object. In its simplest terms, an atkey allows for secure data sharing on the @platform. If you wish to learn more about AtKey Objects, watch our quick YouTube video covering them here!
Creating the snack
  var metaData = Metadata()
  // Metadata describes a few attributes that exists within an AtKey object

   ..isPublic = false // If set to true, the atkey and its value can be looked
    // up from anywhere on the @platform

    ..isEncrypted = true // Will encrypt the entire object including its value

    ..namespaceAware = true; // Appends the application’s namespace to the Atkey
    // object

    ..ttl = 100000; // TTL (Time To Live) is a mechanism used to define the length
    // of time in which this object will exist on the @platform. After the
    // declared time has reached zero, the object will be permanently deleted.
    // This mechanism is declared in milliseconds

  var key = AtKey() // This is the AtKey object itself

    ..key = keyAtsign // This is the name of the object

    ..sharedBy = currentAtsign // This is the creator/original sender
    // of the object, us in this instance.

    ..sharedWith = sendSnackTo // This is who the object will be shared with

    ..metadata = metaData; // This will integrate all of the values we declared
    // earlier

  // The magic line to send the snack
  await atClient.put(key, snack);
  // The put verb will take our object's name, and the value of the object and
  // store it on our secondary server with all of the attributes we declared.

  atClientManager.syncService.sync;
  // This will sync our secondary and primary servers so that the snack will be
  // sent to the receiving @sign

  popSnackBar(context, 'You just sent. A$snack, to $sendSnackTo');
  // This is the  message that pops up when a snack is sent
Receiving the snack
var metaData = Metadata()
// Metadata describes a few attributes that exists within an AtKey object

  ..isPublic = false // If set to true, the atkey and its value can be looked
  // up from anywhere on the @platform

  ..isEncrypted = true // Will encrypt the entire object including its value

  ..namespaceAware = true; // Appends the application’s namespace to the Atkey
  // object

var key = AtKey() // This is the AtKey object itself
  ..key = keyAtsign // This is the name of the object

  ..sharedBy = sharedByAtsign // This is the creator/original sender
  // of the object

  ..sharedWith = currentAtsign // This is who the object has been shared with

  ..metadata = metaData; // This will integrate all of the values we declared
  // earlier

  var snackKey = await atClient.get(key);  // The magic line that receives the
  // snack from the @platform

  var snack = snackKey.value.toString(); // Here is our snack's value being
  // given to a declared variable

  popSnackBar(context, 'Yay! A $snack ! From $sharedByAtsign'); // This is the
  // message that pops up when a snack is received
That’s it! You have now securely sent a snack to another @sign on the @platform!
Where do I go next?
If you are looking to gain more understanding of the @platform, we have more demo applications coming soon!
For now, if you’d like to read more on the @platform, click here